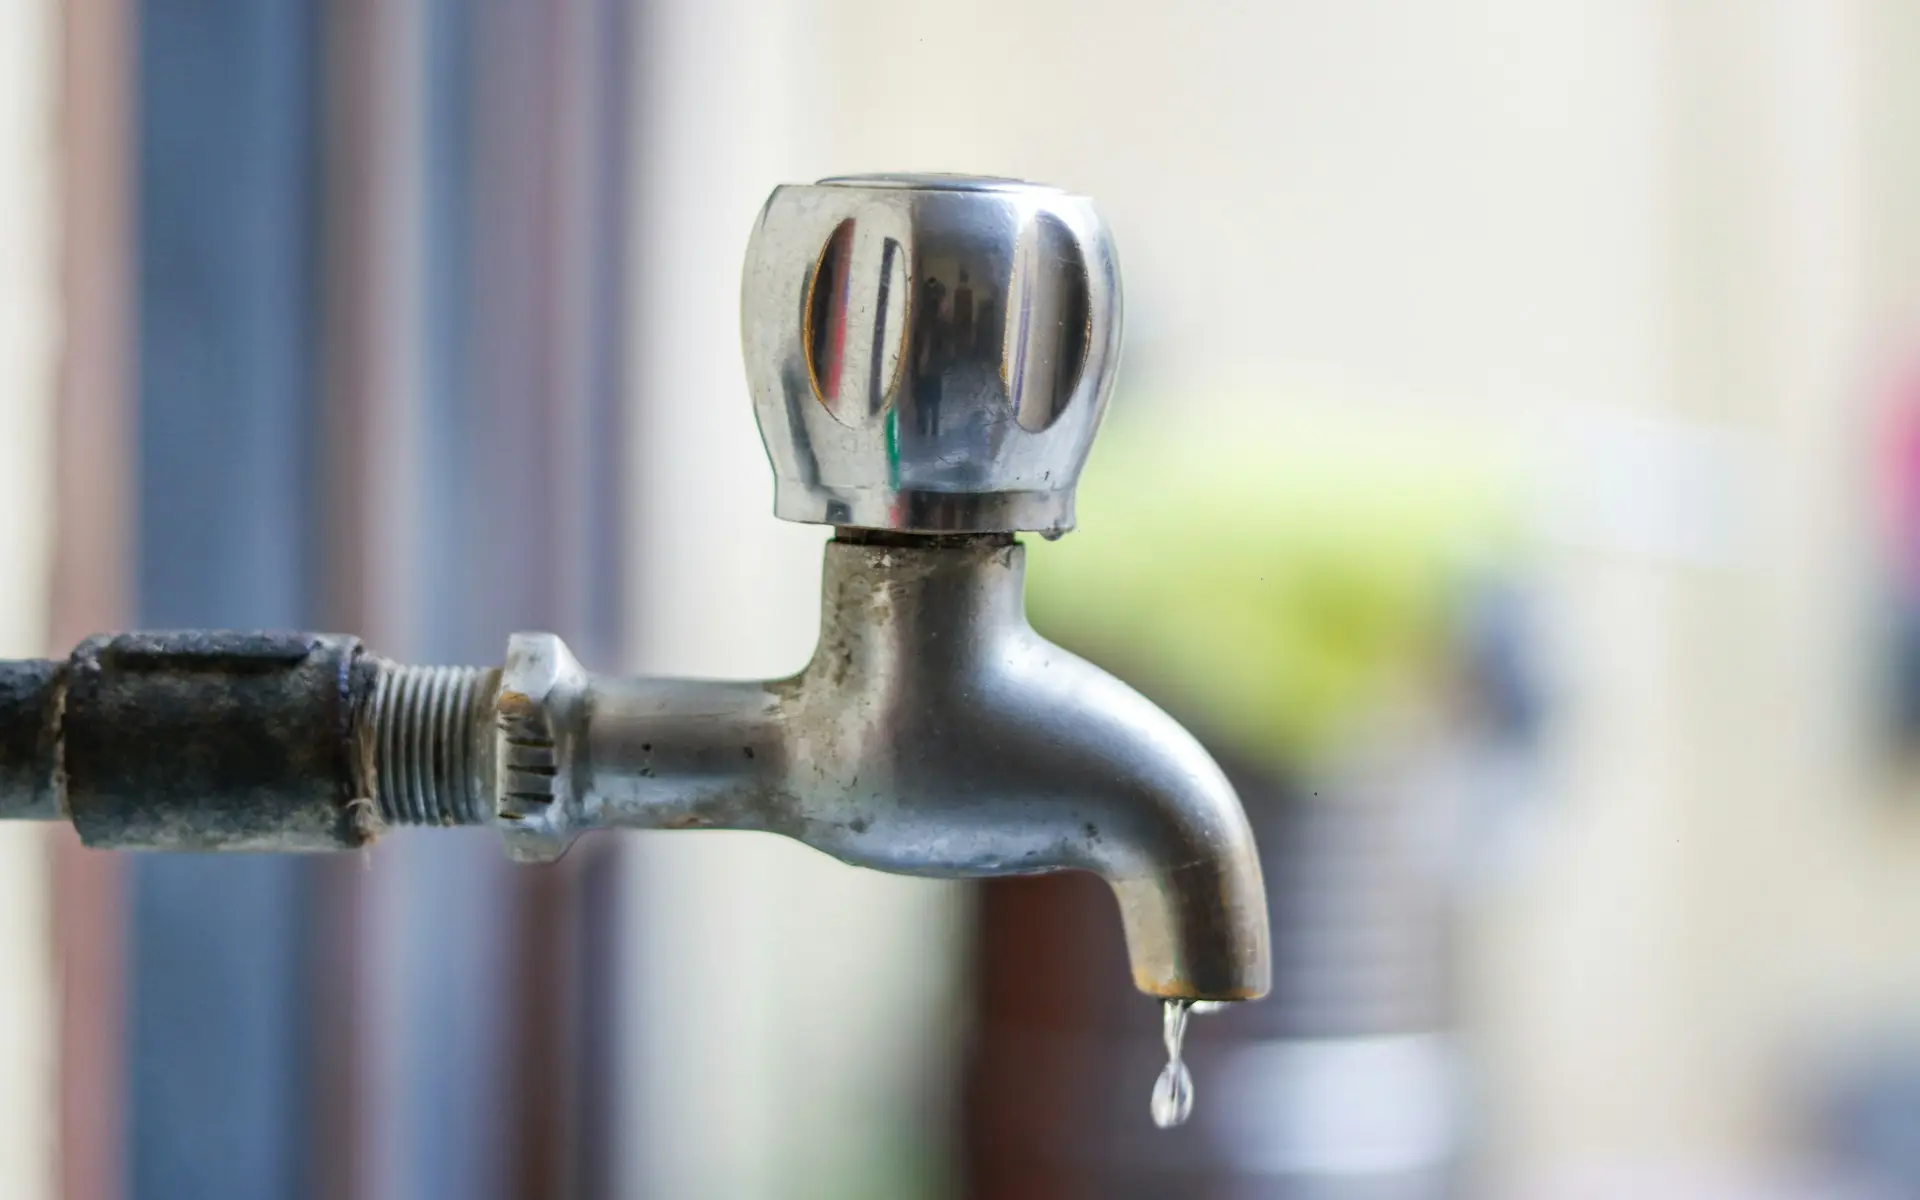
A leaking tap might seem like a minor issue, but it can waste thousands of litres of water annually and spike your water bill. Fortunately, many leaking tap repair tasks can be handled with the right tools—even if you’re not a professional plumber. For Melbourne homeowners looking to save time, money, and water, this guide lists the 10 best tools for effective DIY leaking tap repair and everything you need to know to do it right.
1. Adjustable Spanner
An adjustable spanner is a must-have for leaking tap repair. It helps you loosen or tighten nuts and bolts, especially on the tap bonnet and other fittings. Since taps come in various sizes, a spanner with adjustable jaws will offer flexibility for different tap configurations.
2. Screwdrivers – Flat-head and Phillips
Both flat-head and Phillips screwdrivers are essential for removing handles and faceplates on taps. Some decorative tap covers are clipped in or held with screws underneath, so having both types of screwdrivers ensures you’re ready for any setup during your leaking tap repair process.
3. Replacement Washers and O-Rings
Washers and O-rings are among the most common causes of a leaking tap. Over time, they degrade and allow water to seep through. Keeping a variety of sizes on hand makes replacement quick and easy. Make sure they’re made of high-quality rubber for durability.
4. Tap Reseating Tool
Even after replacing the washer, your tap may continue to leak if the seat is worn or pitted. That’s where a tap reseating tool becomes vital. This device helps you grind the seat surface smooth again, ensuring a watertight seal and extending the life of your leaking tap repair.
5. Allen Keys (Hex Keys)
Modern mixer taps often use hex screws to secure the handles. You’ll need a set of Allen keys in various sizes to remove these handles safely. Trying to force them open with the wrong tool can damage the fitting or strip the screw.
6. Plumber’s Tape (Teflon Tape)
Plumber’s tape is used on threaded connections to ensure leak-free seals. It’s a quick, effective solution during any leaking tap repair to reinforce pipe joints, especially when reassembling spouts or fittings. A few wraps around the threads can prevent future drips.
7. Soft Cloth or Rag
Though often overlooked, a clean, soft cloth is important to protect polished tap surfaces when using tools. It also helps absorb excess water during disassembly and reassembly. Plus, wiping down parts lets you spot cracks, mineral buildup, or corrosion early.
8. Needle-Nose Pliers
Needle-nose pliers are ideal for grabbing small washers or O-rings from tight spots. Their narrow shape and pointed tips allow you to remove or replace internal tap parts without damaging the housing. They also help reposition seals accurately during a leaking tap repair.
9. Silicone-Based Lubricant
A bit of silicone-based lubricant helps ensure smooth operation when reassembling your tap. It keeps washers and O-rings flexible, prevents sticking, and prolongs the lifespan of your repair. Don’t use petroleum-based lubricants, as they degrade rubber parts.
10. Basin Wrench
Some tap repairs, especially those beneath sinks, require accessing hard-to-reach nuts. A basin wrench has a long handle and pivoting head, making it perfect for those tight, awkward spaces. This tool makes under-sink leaking tap repair much easier.
Why Fix a Leaking Tap?
A dripping tap can waste more than 12,000 litres of water a year. In water-conscious cities like Melbourne, fixing leaks promptly helps conserve resources and keeps your utility bills under control.
For further DIY guidance, including step-by-step visuals, check out this detailed leaky faucet repair guide from The Home Depot — a trusted resource used by professionals and homeowners alike.
When to DIY vs When to Call a Plumber
While DIY leaking tap repair is often successful with basic tools, not every leak is simple. If you’ve replaced the washer, reseated the tap, and still experience dripping—or if the tap assembly is complex (like a wall-mounted or mixer tap)—calling a licensed plumber is recommended.
Persistent leaks might indicate deeper plumbing issues such as pipe corrosion or valve seat damage. In these cases, a trained Melbourne plumber can quickly diagnose the problem and provide a permanent fix, saving you further hassle.
Environmental Impact of Leaking Taps
Every drop counts. Fixing leaking taps isn’t just about convenience—it’s a contribution to water conservation. Melbourne’s water supply is under constant pressure due to population growth and climate factors. Addressing leaking taps promptly helps reduce unnecessary water waste and supports sustainable urban living.
Bonus Tips for DIY Leaking Tap Repair
-
Always shut off the water before starting any repair.
-
Keep a bucket or towel under the sink to catch any drips.
-
Photograph the tap before disassembling so you remember how it fits back together.
-
If you’re unsure, test your repaired tap without the handle first to confirm the leak is gone.
-
Use rubber gloves for a better grip and safety when handling tools.
Common Mistakes to Avoid During Leaking Tap Repair
While leaking tap repair can often be a straightforward DIY task, there are common mistakes that many homeowners make which can lead to further damage or recurring issues.
One major error is overtightening components during reassembly. While it’s important to secure the parts, overtightening can crack ceramic discs or damage rubber washers, resulting in future leaks. Always tighten just enough to create a snug seal.
Another common mistake is using the wrong size washer or failing to clean the tap seat before installing a new one. This can cause uneven pressure, leading to continuous dripping.
Additionally, skipping the use of plumber’s tape on threaded fittings can allow water to seep through joints, even if the rest of the tap appears sealed.
Lastly, don’t ignore minor leaks, thinking they’ll resolve themselves. In most cases, they’ll get worse. Prompt leaking tap repair helps protect your home, wallet, and water supply from long-term damage.
Take Control of Tap Leaks Today
Leaking tap repair is one of the most accessible plumbing fixes a homeowner can do. With these 10 essential tools, you’re fully equipped to stop annoying drips, conserve water, and save money. From the adjustable spanner to the tap reseating tool, every item plays a crucial role in successful DIY repairs.
Whether you’re in a new build in Docklands or a heritage home in Fitzroy, taking charge of your plumbing maintenance is both empowering and environmentally responsible. But always remember—if the job feels too big, Melbourne’s professional plumbers are just a call away.
Need expert help with leaking tap repair in Melbourne? Contact KPS Plumbing for fast, reliable, and affordable plumbing solutions today.
Frequently Asked Questions (FAQs)
-
How do I know which washer or O-ring to use for my tap?
Remove the old one and take it to a local hardware store for matching, or consult the tap brand’s specifications online.
-
Do I need special tools for mixer taps?
Yes. Mixer taps often require Allen keys and sometimes cartridge pullers. Their internal components can be more complex.
-
What if my tap continues leaking after washer replacement?
The tap seat may be worn or pitted. Use a tap reseating tool to smooth the surface, or contact a plumber if damage persists.